
Rotorblätter aus Carbon selbst bauenMaking carbon rotor blades yourself
Schülerinnen und Schüler fertigen die Rotorblätter für ein Windrad selbst: in Sandwich-Bauweise aus Carbongewebe und Kernschaum, mit Vakuuminfusion. Als Form dient ein einfaches Rohr.
Students make the rotor blades for a wind turbine themselves: a sandwich of carbon fabric and foam core, produced by vacuum infusion. A simple pipe serves as the mould.
Das WindradThe wind turbine
Eine Fahrradfelge bildet den Rahmen, daran sitzen etwa 8 (höchstens 12) halbrohrförmige Schalen als Rotorblätter. Diese Schalen entstehen in der Werkstatt: Die Schülerinnen und Schüler schneiden die Lagen zu, legen sie auf das Rohr und ziehen das Epoxidharz mit Vakuum in den Aufbau. Eine Infrarotlampe beschleunigt das Aushärten. Zum Vergleich werden ein bis zwei Blätter aus Glasfaser gebaut.
One bicycle rim forms the frame, with about 8 (at most 12) half-pipe shells attached to it as rotor blades. The shells are made in the workshop: students cut the layers, lay them on the pipe and draw epoxy resin into the lay-up under vacuum. An infrared lamp speeds up curing. For comparison, one or two blades are made from glass fibre.
MaterialienMaterials
- Aufbau: zwei Carbonmatten mit einem Kern (Core) dazwischen
- Kern: 3DCore PET 100 Infusionsschaum, 3 mm. Im Workshop nehmen wir nur diesen Kern, weil nur dieses Material verfügbar ist. Der erste Vorversuch lief mit Lantor Soric SF (1200 mm Breite).
- 1 bis 2 Blätter aus Glasfaser zum Vergleich
- Epoxid-Infusionsharz mit Härter (Fast): 600 g Harz und 180 g Härter pro Blatt
- Abreißgewebe (Peel Ply) und Fließhilfe (Infusion Mesh) als ein Material über dem Laminat
- Rohr als Form, Vakuumtasche (Schlauchfolie), Harz- und Vakuumschlauch, Vakuumpumpe, Infrarotlampe. Kein Dichtband
- Lay-up: two carbon fibre mats with a core in between
- Core: 3DCore PET 100 infusion foam, 3 mm. In the workshop we only use this core, because it is the only material available. The first trial run used Lantor Soric SF (1200 mm width).
- 1 or 2 blades in glass fibre for comparison
- Epoxy infusion resin with hardener (fast): 600 g resin and 180 g hardener per blade
- Peel ply and infusion flow mesh as one material on top of the laminate
- Pipe as mould, vacuum bag (tube film), resin and vacuum hoses, vacuum pump, infrared lamp. No sealant tape
Sicherheit
Safety
Beim Arbeiten mit dem Harz: Nitrilhandschuhe, Schutzbrille und Schürze tragen und für gute Lüftung sorgen.
When working with the resin: wear nitrile gloves, safety glasses and an apron, and make sure there is good ventilation.
LagenaufbauLayup schedule
| # | LageLayer |
|---|---|
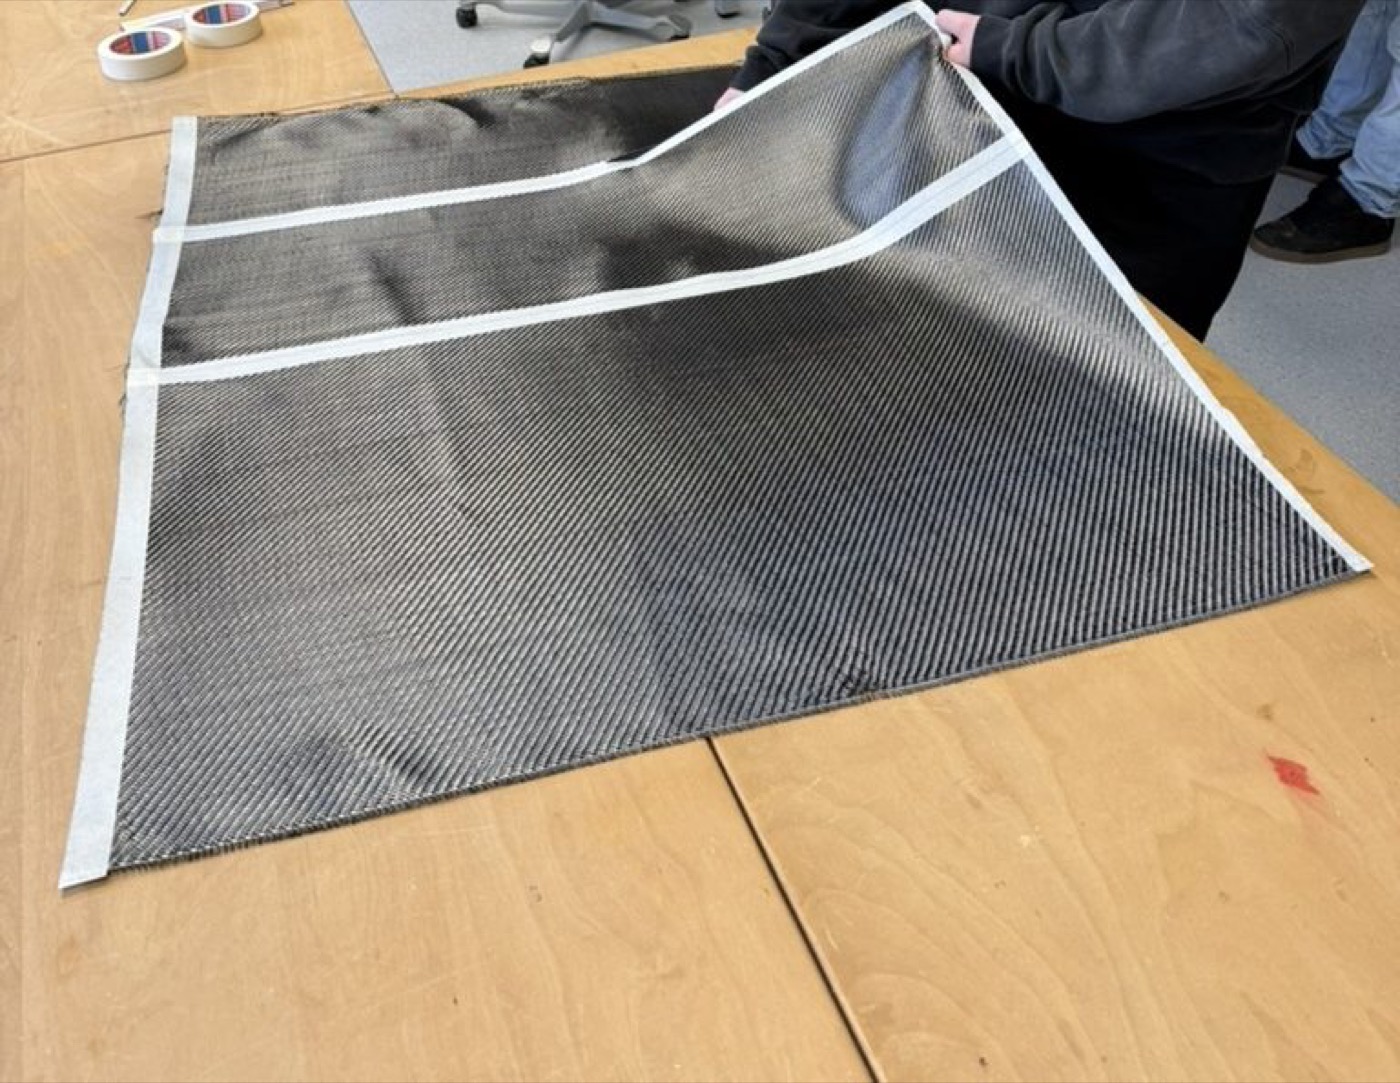
| 1 | Carbon, 1. LageCarbon, 1st layer 85 × 30 cm Strukturlage. Erste sichtbare Carbonlage, sauber ausgerichtet und faltenfrei auf die Form legen.Structural layer. First visible carbon layer; align it properly and lay it on the mould without wrinkles. |
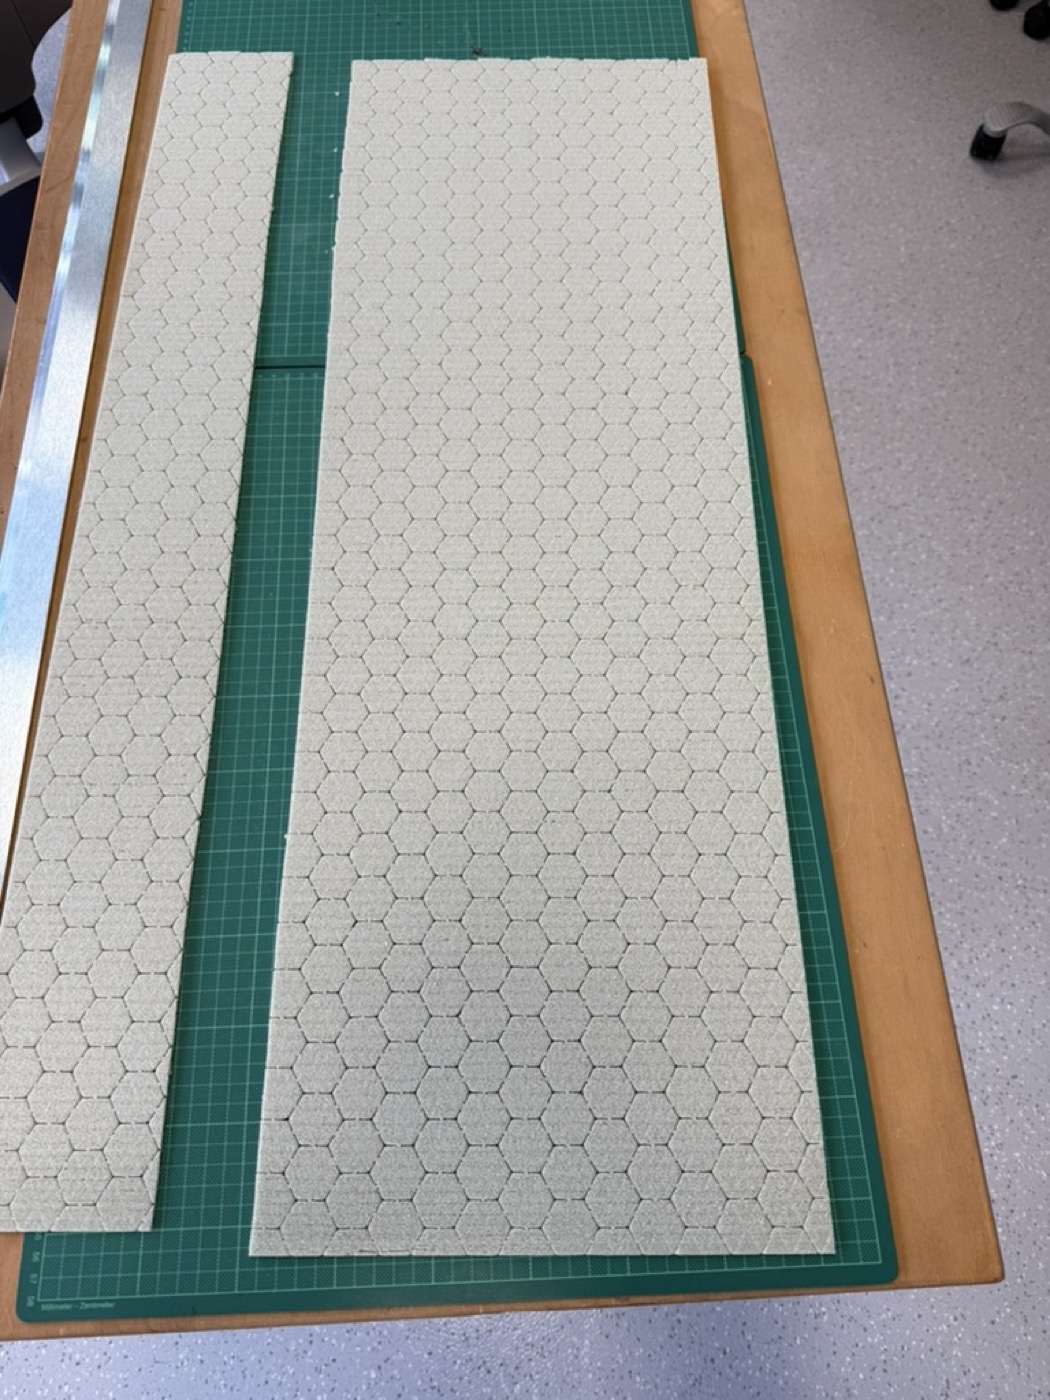
| 2 | Kern (3DCore PET 100, 3 mm), 2. LageCore (3DCore PET 100, 3 mm), 2nd layer 85 × 30 cm Sandwich-Kern. Biegsamer Schaum mit Wabenmuster, macht das Blatt steifer und hilft dem Harz, durch das Laminat zu fließen.Sandwich core. Flexible foam with a honeycomb pattern that increases stiffness and helps the resin flow through the laminate. |
| 3 | Carbon, 3. LageCarbon, 3rd layer 85 × 30 cm Strukturlage. Zweite Carbonlage für Festigkeit, Stabilität und eine gute Oberfläche.Structural layer. Second carbon layer for strength, stability and a good surface finish. |
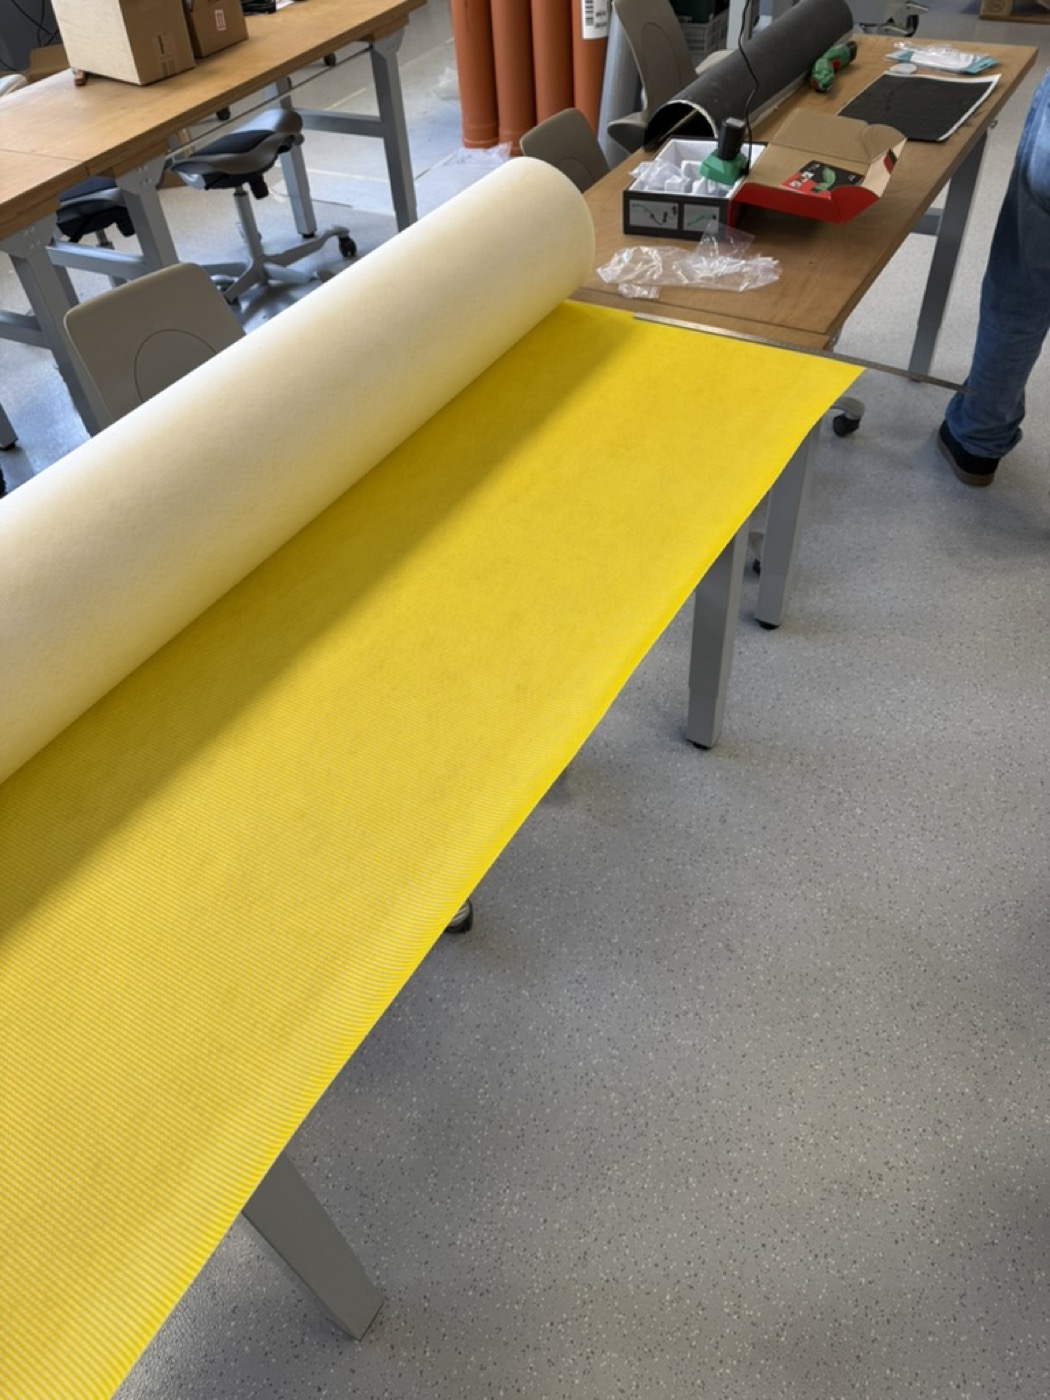
| 4 | Abreißgewebe + Fließhilfe, 4. LagePeel ply + flow mesh, 4th layer 87 × 32 cm Ein Material, eine Lage. Die Fließhilfe verteilt das Harz schnell und gleichmäßig. Nach dem Aushärten wird alles abgezogen, zurück bleibt eine raue, klebefertige Oberfläche.One material, one layer. The flow mesh spreads the resin quickly and evenly. After curing everything is pulled off and leaves a textured surface ready for bonding. |
| 5 | Vakuumtasche (Schlauchfolie)Vacuum bag (tube film) Breite 86 cmwidth 86 cm Der ganze Aufbau wird hineingeschoben. Die Pumpe saugt die Luft heraus, der Luftdruck presst alles gleichmäßig zusammen. Kein Dichtband nötig.The whole lay-up is slid inside. The pump draws out the air and atmospheric pressure compacts everything evenly. No sealant tape needed. |
ArbeitsschritteProcess steps
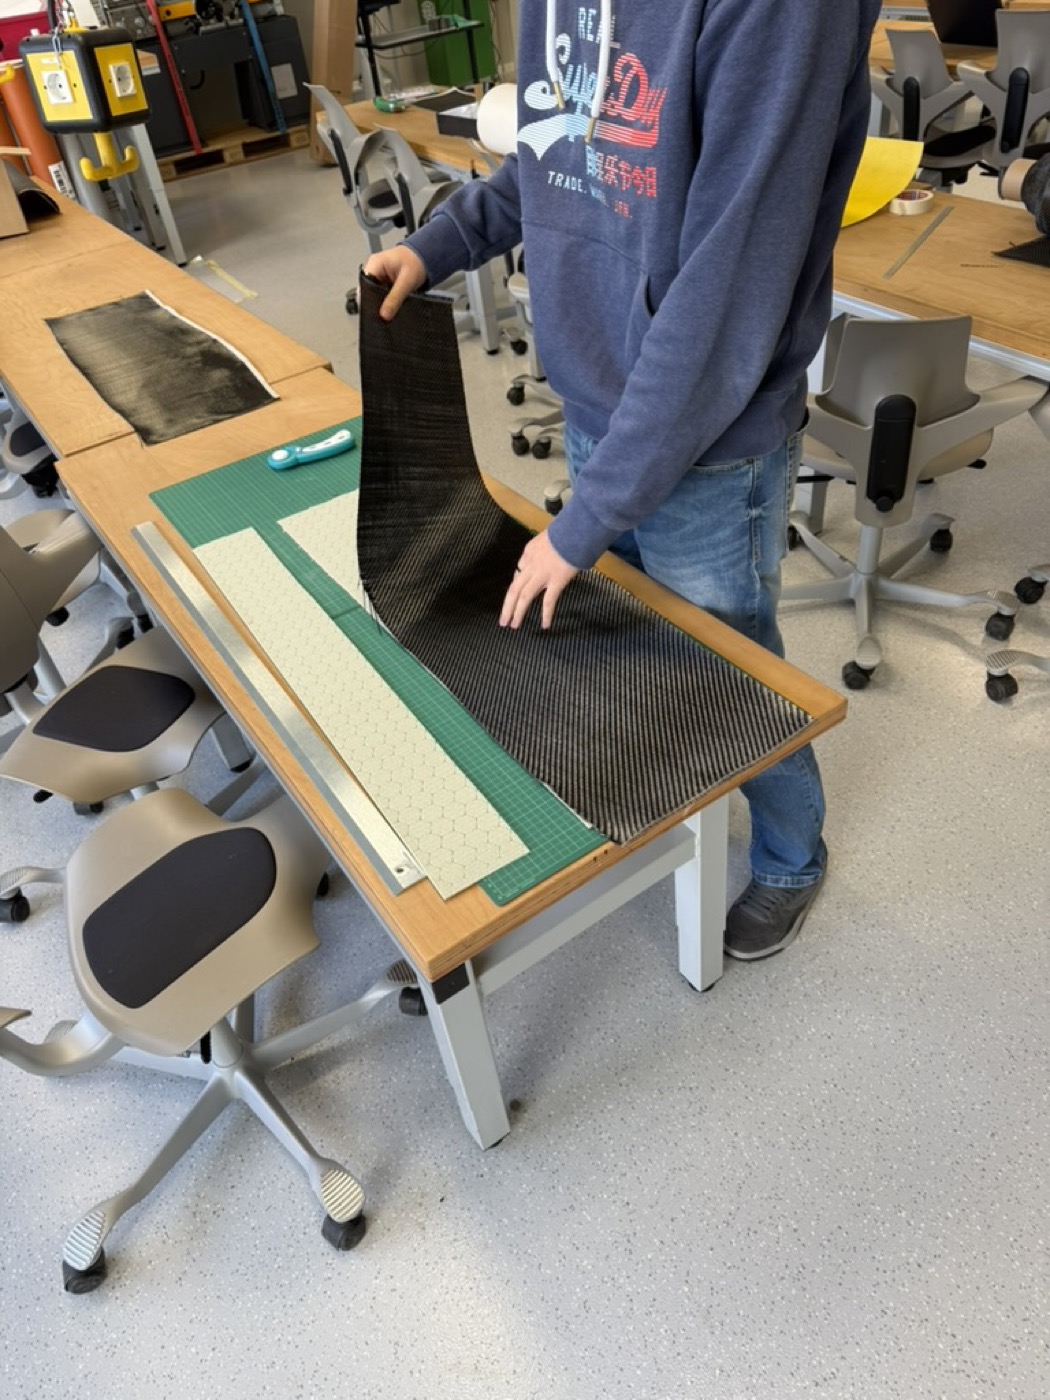
- Carbonmatten abkleben und zuschneiden
- Kern und Abreißgewebe + Fließhilfe zuschneiden
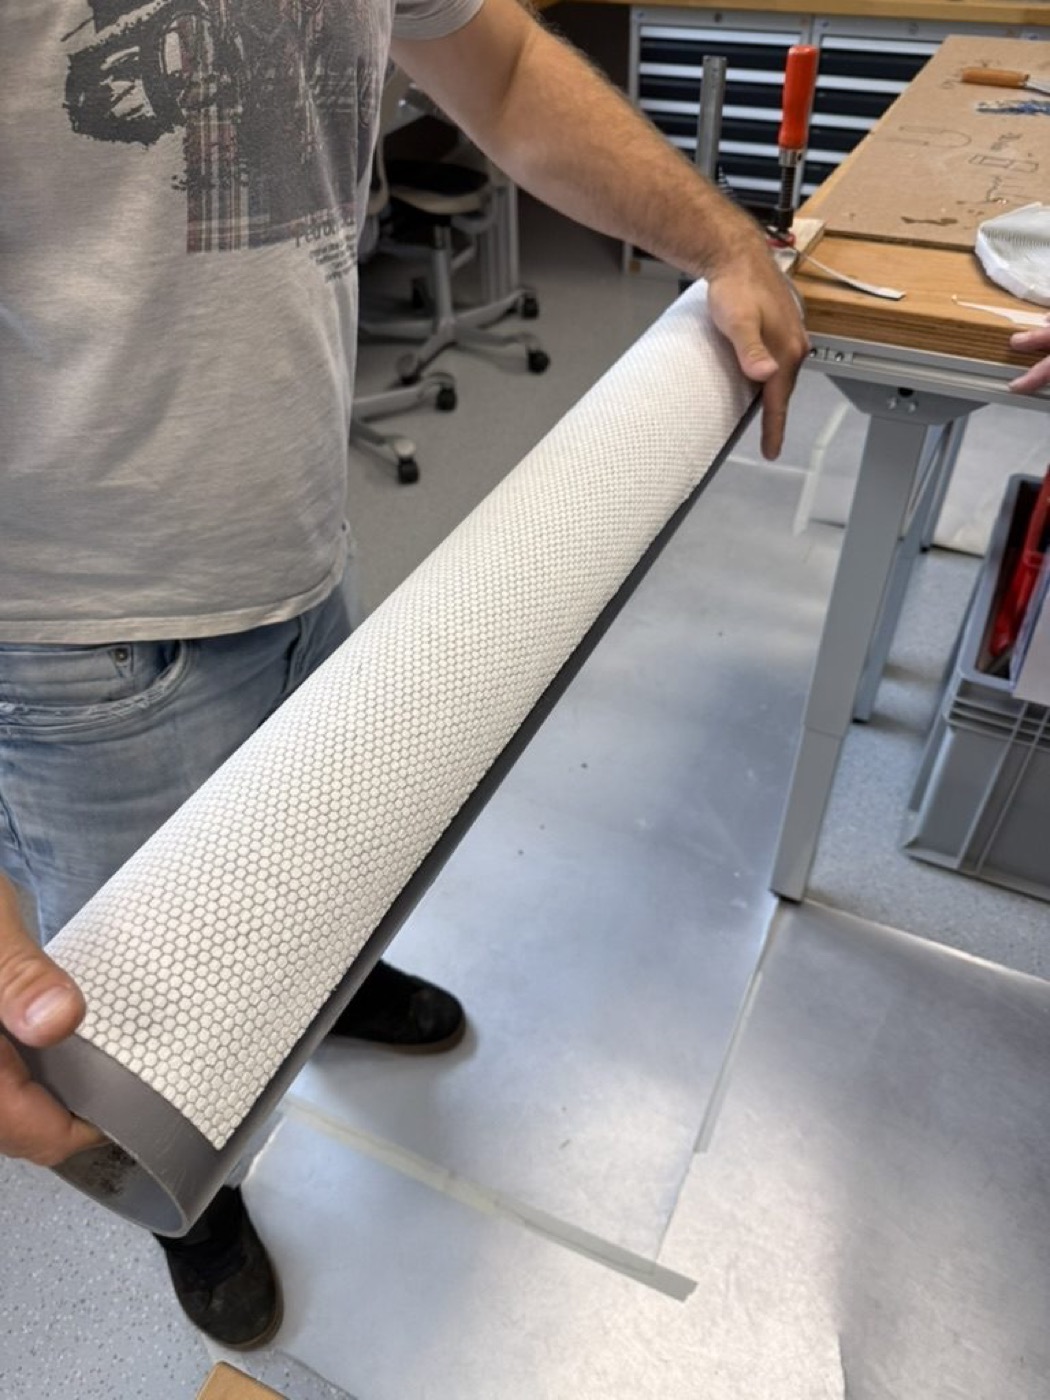
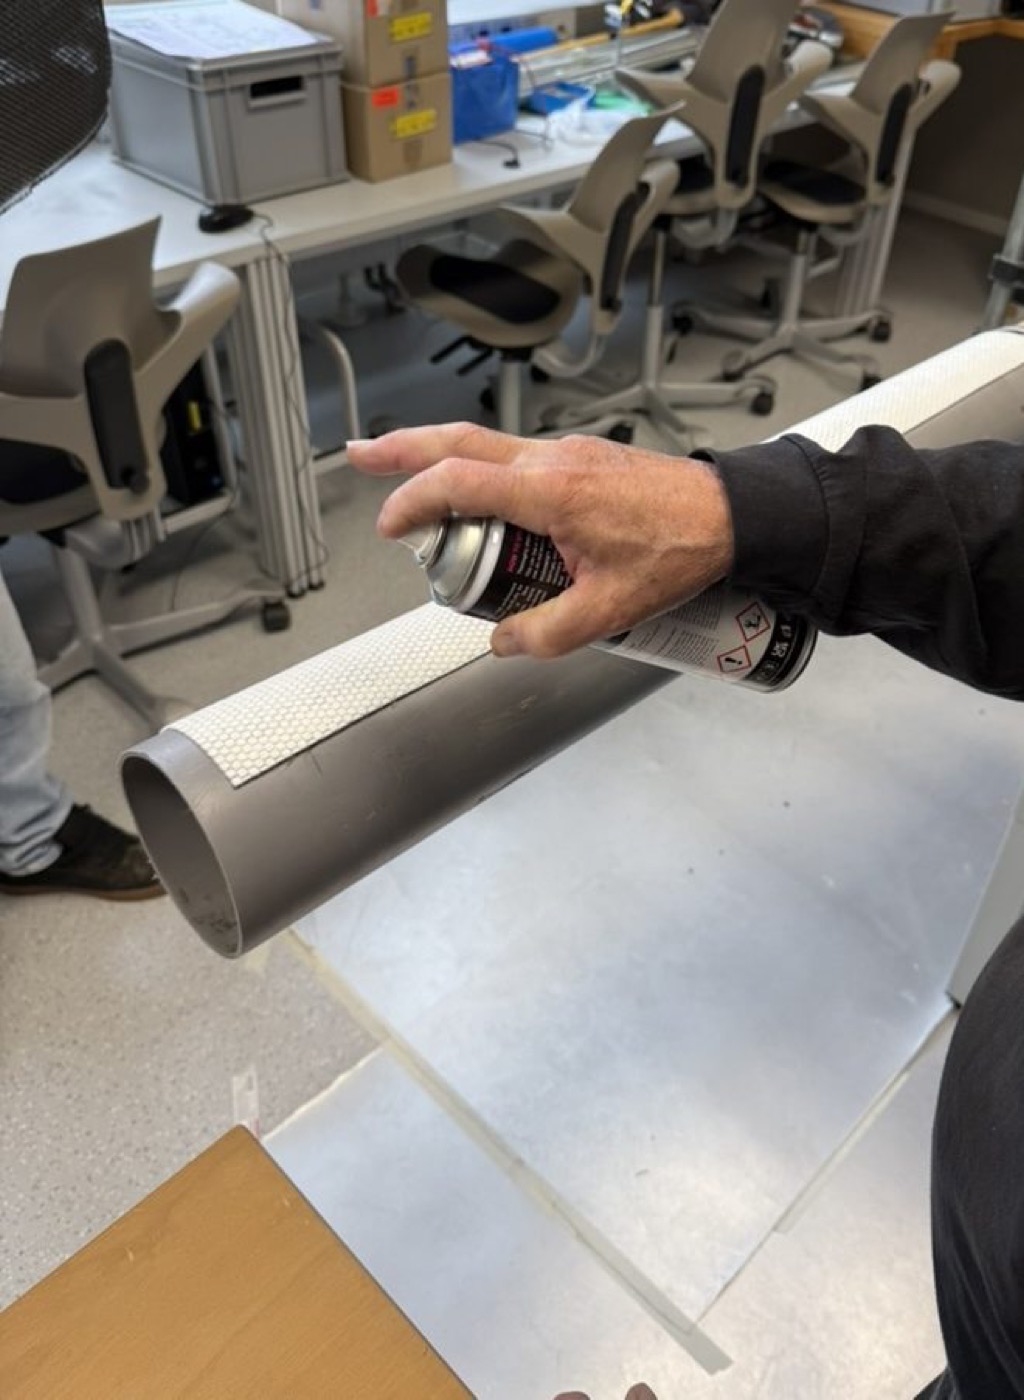
- Carbonmatte, Kern und zweite Carbonmatte auf das Rohr legen, das als Form dient, darüber Abreißgewebe + Fließhilfe
- Den Aufbau in die Vakuumtasche schieben
- Harzschlauch und Vakuumschlauch anbringen und abdichten
- Pumpe anschließen und Vakuum ziehen
- Harz in 3 Portionen mischen: je 200 g Harz und 60 g Härter (Fast), Verhältnis 100:30, zusammen 600 g + 180 g
- Harzschlauch öffnen: Das Harz wird in den Aufbau gezogen
- Aushärtung mit Infrarotlampe beschleunigen
- Tape and cut the carbon fabric
- Cut the core and the peel ply + flow mesh
- Lay carbon mat, core and second carbon mat on the pipe that serves as the mould, then peel ply + flow mesh on top
- Slide the lay-up into the vacuum bag
- Attach and seal the resin hose and the vacuum hose
- Connect the pump and pull the vacuum
- Mix the resin in 3 portions: 200 g resin and 60 g hardener (fast) each, ratio 100:30, 600 g + 180 g in total
- Open the resin hose: the resin is drawn into the lay-up
- Speed up curing with an infrared lamp
Die Blätter sind nach dem Aushärten (am selben Abend oder am nächsten Tag) fertig.
The blades are ready once cured (the same evening or the next day).
Zwei Vorversuche im VergleichTwo trial runs compared
| Vorversuch ATrial run A | Vorversuch B · im WorkshopTrial run B · used in the workshop | |
|---|---|---|
| CarbonCarbon | 2 Lagen2 layers | 2 Lagen2 layers |
| KernCore | Lantor Soric SF (1200 mm) | 3DCore PET 100, 3 mm |
| HarzResin | 400 g | 600 g |
| Härter (Fast)Hardener (fast) | 120 g | 180 g |
| Gewicht fertiges BlattWeight of finished blade | 404 g | 634 g |
Mischungsverhältnis bei beiden 100 : 30. Im Workshop bauen wir Variante B, weil nur dieses Kernmaterial verfügbar ist.
Mixing ratio 100 : 30 in both. In the workshop we build variant B, because this is the only core material available.
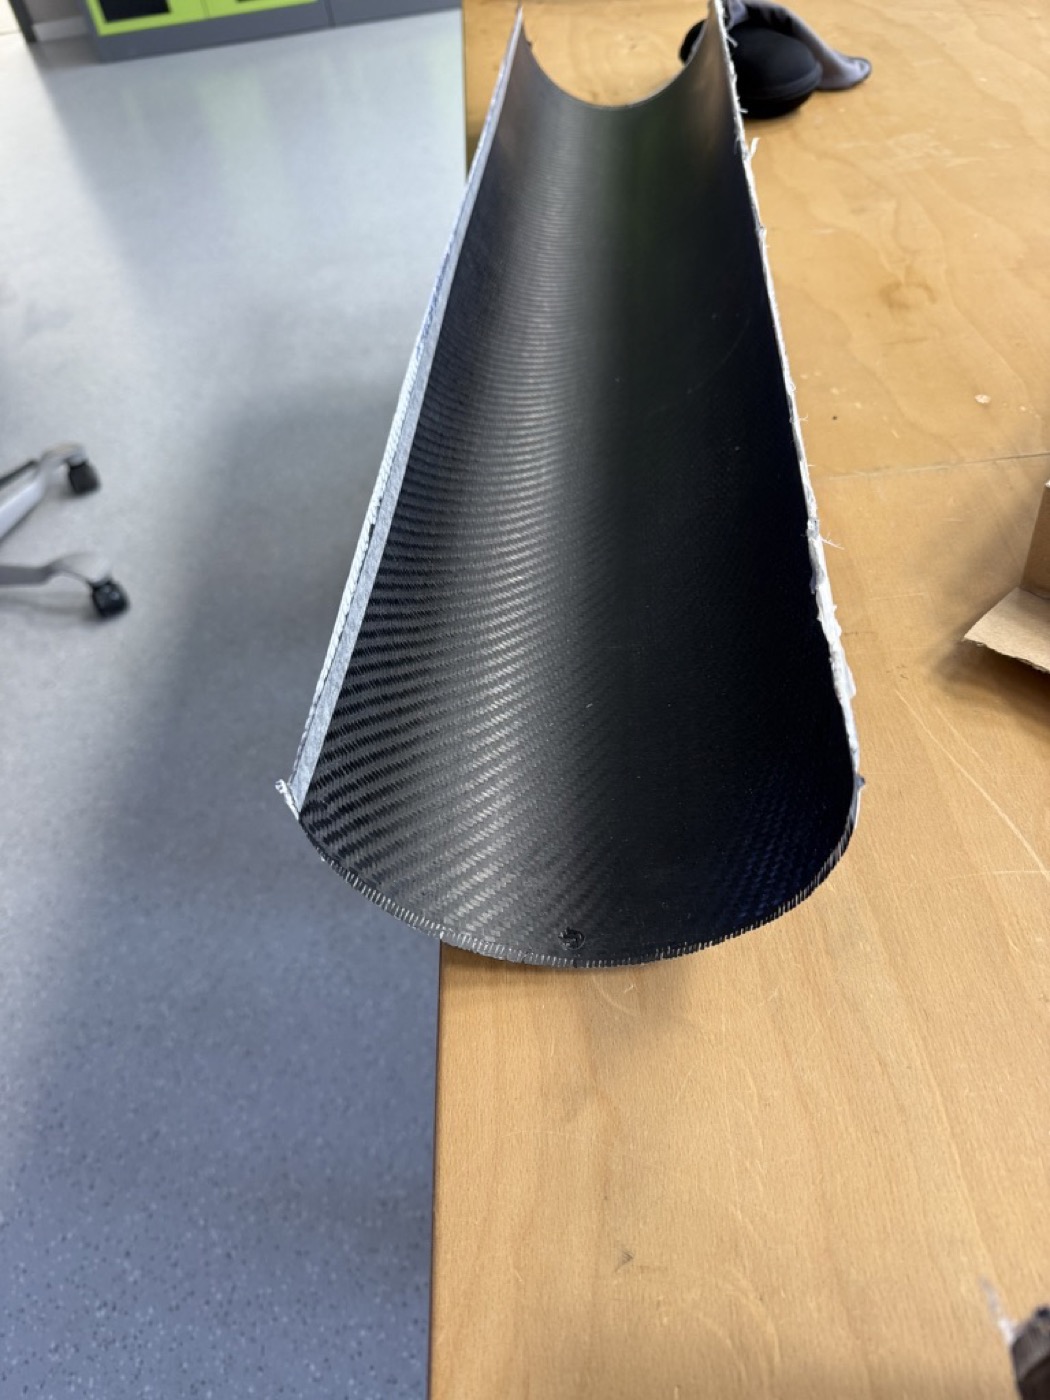
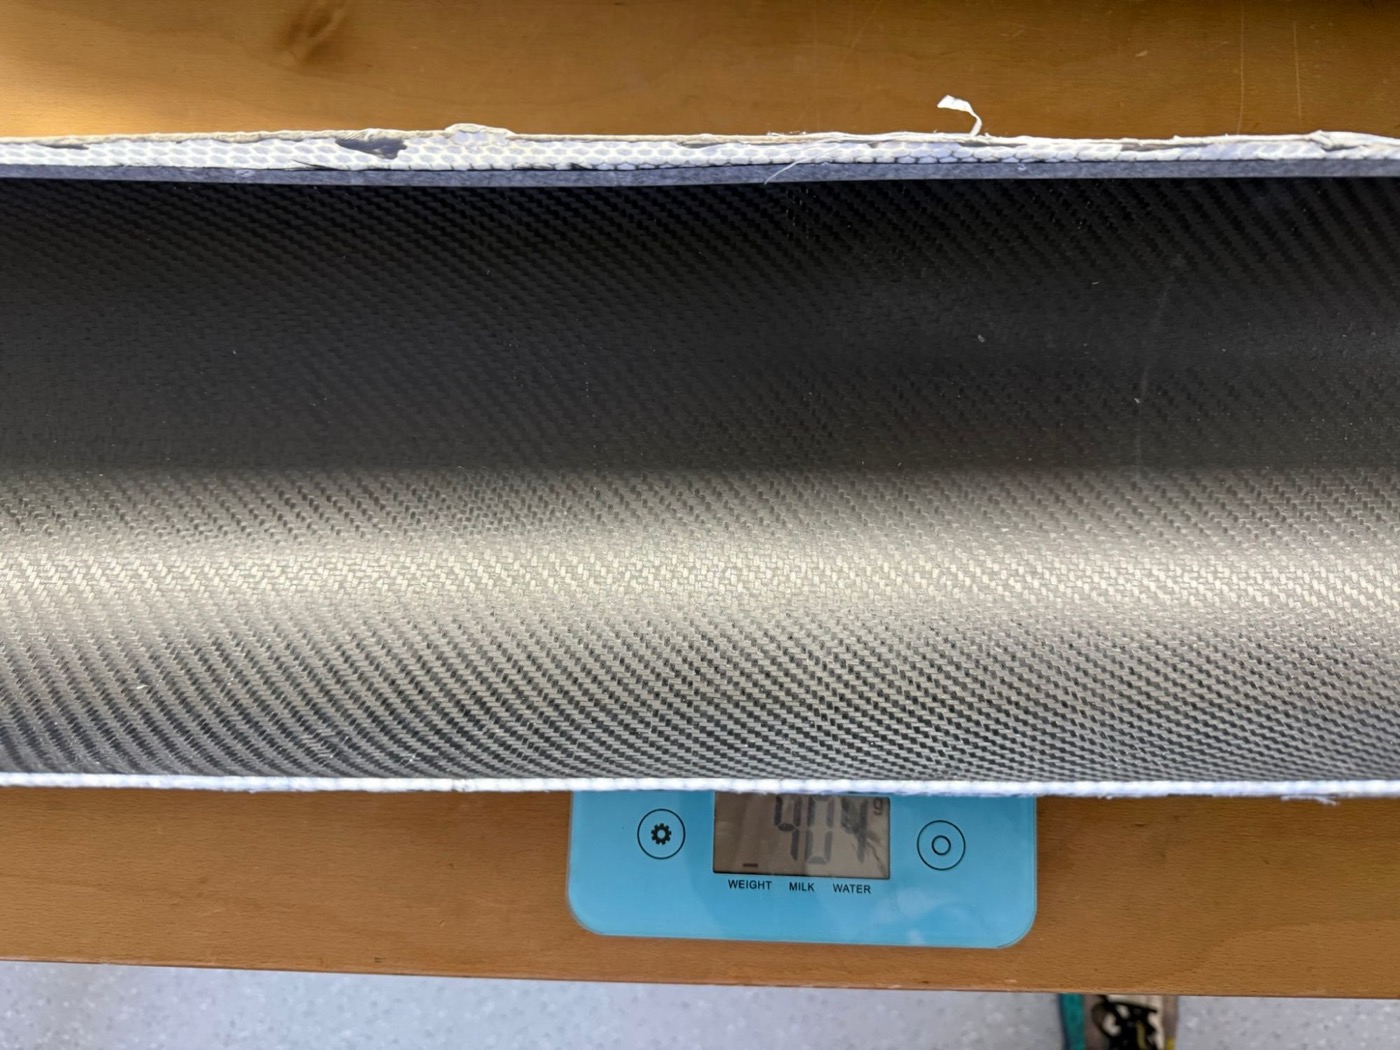
- 400 gHarz
- 120 gHärter (Fast)
- 2 LagenCarbon
- KernLantor Soric SF (1200 mm)
- 400 gresin
- 120 ghardener (fast)
- 2 layerscarbon
- CoreLantor Soric SF (1200 mm)
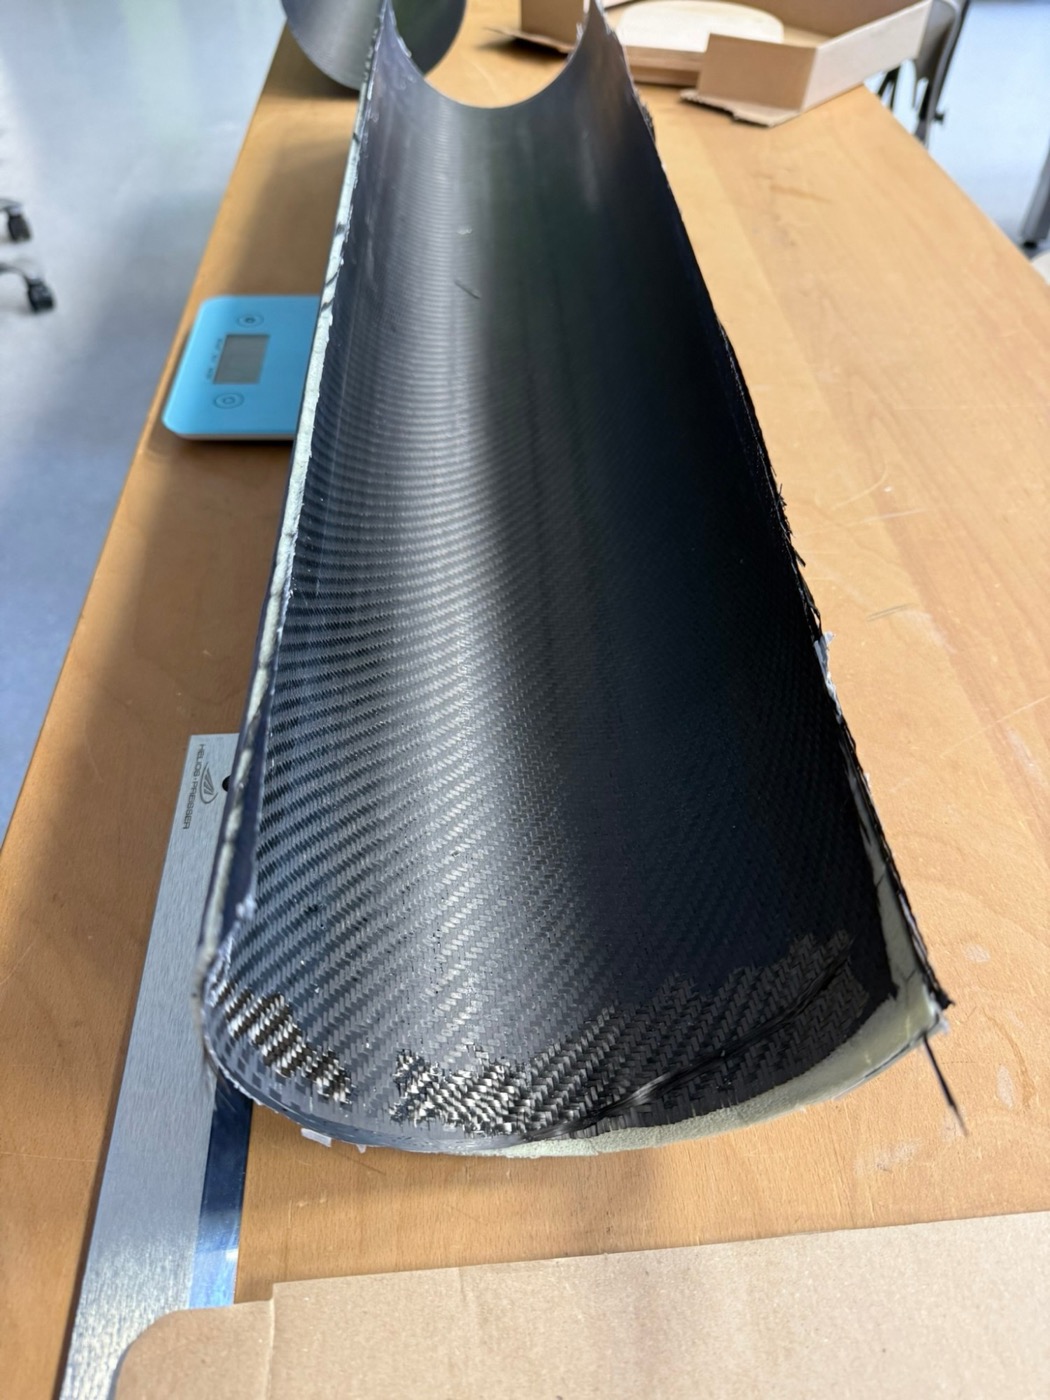
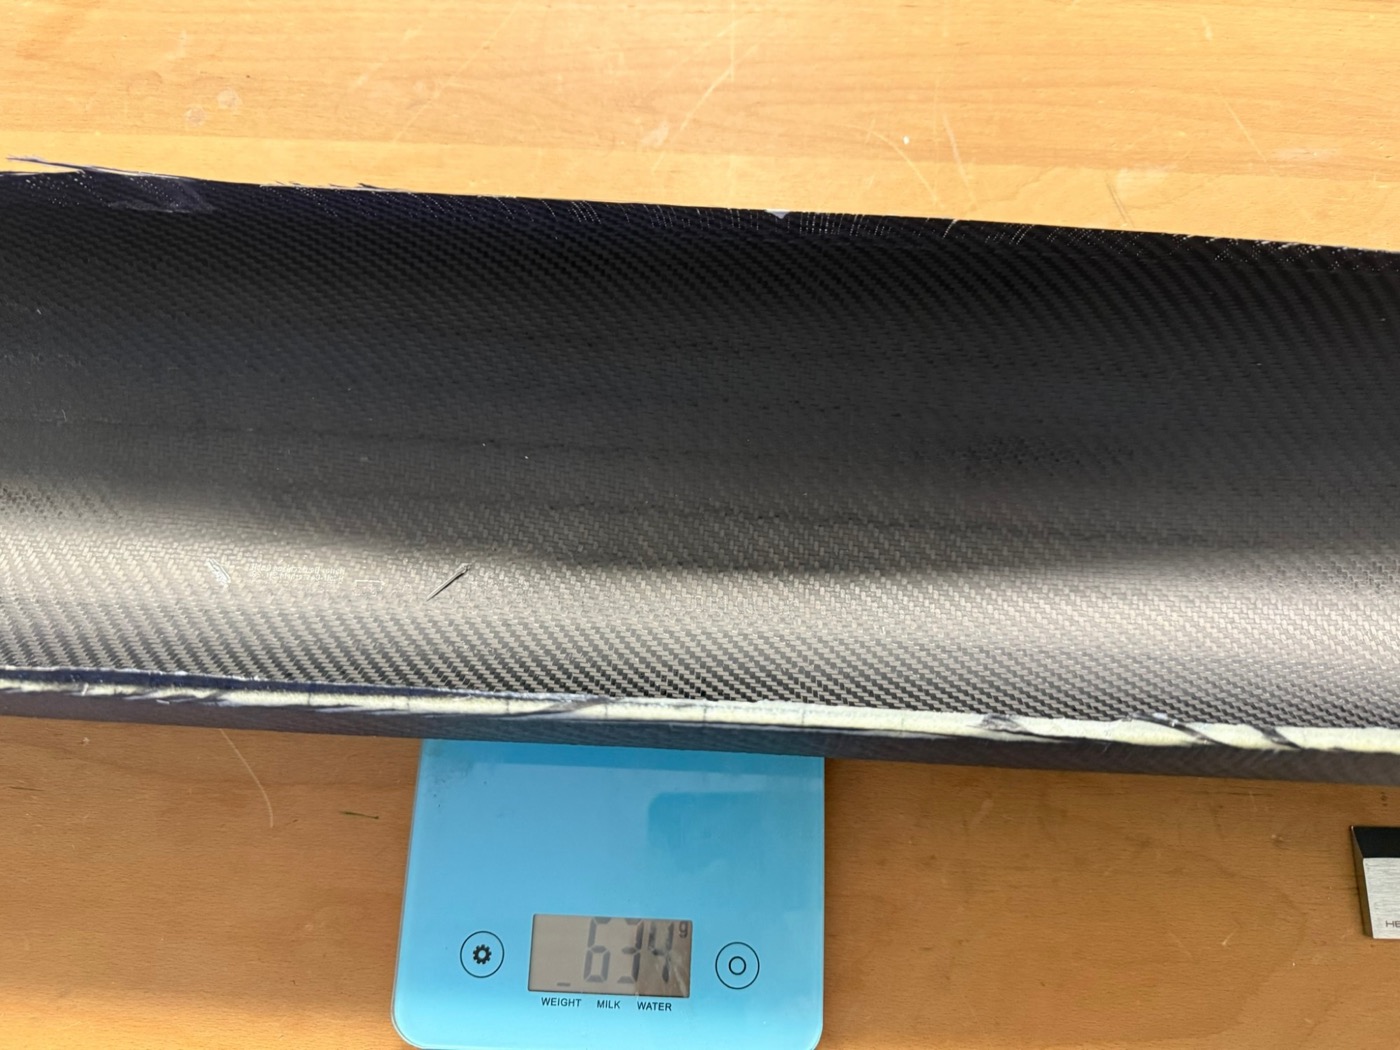
- 600 gHarz (3 × 200 g)
- 180 gHärter (Fast) (3 × 60 g)
- 2 LagenCarbon
- Kern3DCore PET 100 Foam, 3 mm
- 600 gresin (3 × 200 g)
- 180 ghardener (fast) (3 × 60 g)
- 2 layerscarbon
- Core3DCore PET 100 foam, 3 mm
Fotos und Video aus dem VorversuchPhotos and video from the trial run
← zurück zu windmobile.lu← back to windmobile.lu · Workshops